
On the Peugeot 2008, replacing a bulb is not done in a jiffy. Unlike some city cars where everything can be done in a snap, here, the procedure has its requirements: sometimes complex removal, parts to handle with care, risk of misaligning a beam or forcing a socket. A seemingly trivial intervention on paper, but one that tolerates neither haste nor approximation.
Behind this ordinary maintenance task lie subtleties: depending on the series, the bulb reference varies. Low beams? Usually H7. For sidelights: W5W. Yet there is always a nuance, a detail that makes a difference and requires checking the maintenance manual. As for tools, there’s no need for rare equipment. But a flat screwdriver, a poor-quality pliers, or dirty fingers can turn bulb replacement into a hassle. It’s better to prepare a few suitable tools and, above all, to act meticulously to preserve the optical unit.
Read also : How to Easily Update the GPS of Your Citroën C3 Aircross: Practical Guide
What types of bulbs to choose and what tools to equip?
Settling for approximations has never helped Peugeot 2008 owners. To avoid the unpleasant surprise of a flickering headlight or an out-of-spec light, you need to identify the exact reference, H7 for low beams, W5W for positions, not forgetting to take a look at the manual. This is not a detail: only a suitable bulb promises proper lighting and compliance with road standards.
To ensure everything goes smoothly, here is a clear list of tools to gather before starting:
Read also : Practical guide to easily unlock a Smeg induction cooktop at home
- Flat screwdriver for unclipping and Phillips if needed.
- 10 mm socket for certain headlight configurations.
- Fabric gloves, to handle the installation without leaving marks on the glass.
One piece of advice: take the time to consult this guide on changing the bulb on a Peugeot 2008. It contains the essentials to avoid breakage or the infamous poorly closed housing that ends up taking on moisture. With each reassembly, make sure the socket clicks smoothly into its connector, and that each beam is free to move. Neglecting this point exposes you to a breakdown at the first night turn.
Replacing the headlight bulb: complete method and precise adjustments
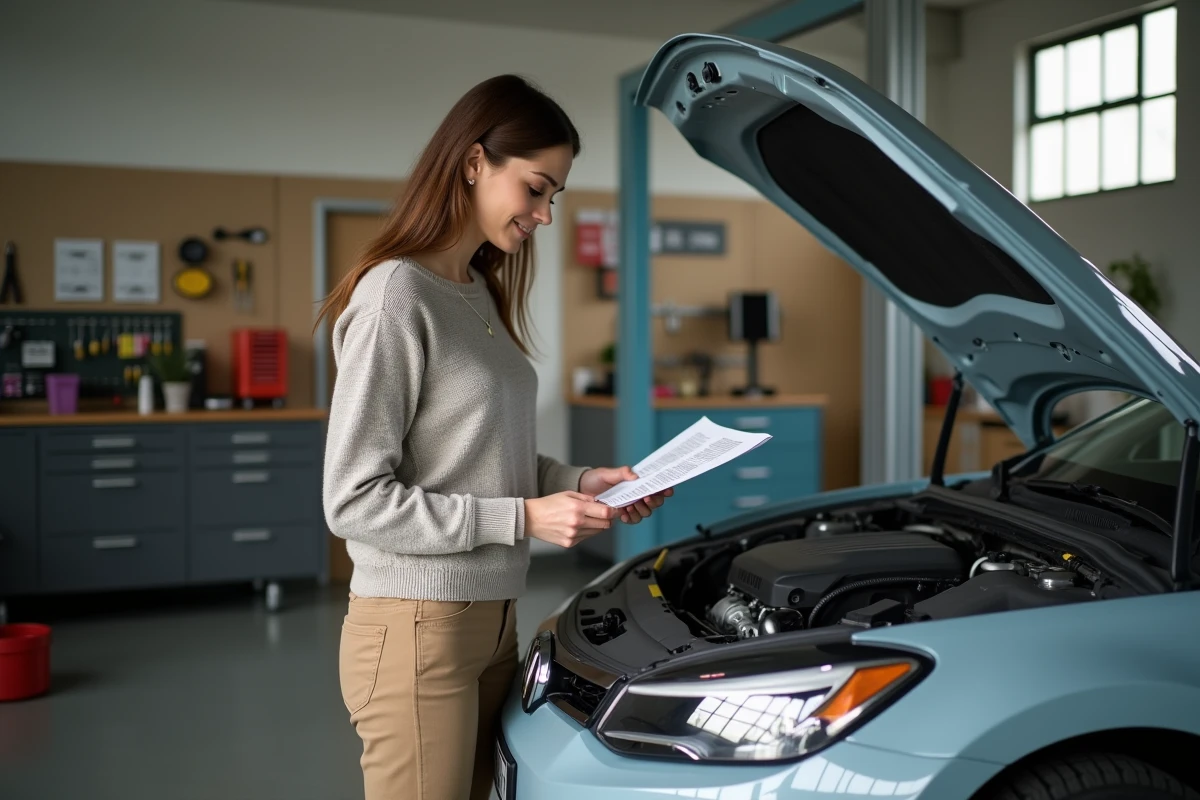
Open the hood, engine off and housing well cooled. To access the headlight unit of the 2008, you sometimes need to arm yourself with patience, especially if space is tight on the passenger side. At the back of the headlight, locate the access cover. Remove it gently. There, the electrical connections and the bulb socket await your intervention. Disconnect the connector, then extract the socket, whether it’s held by a spring wire or a quarter turn, adjust your movement accordingly.
Remove the faulty bulb without touching the glass part. Place the new one, ensuring the alignment of the notches. The connections should be made without forcing, and each clip should find its place without hesitation. It’s all about order and precision: reposition the cover, check each connection.
Before closing the hood, turn on the lights: the bulb should illuminate without flickering, the beam remains stable. These checks are necessary to ensure a reliable repair. Here, for reference, are the actions not to lose sight of:
- Make sure to disconnect the plug before extracting the bulb.
- Avoid any skin-to-glass contact, which can cause overheating or short circuits.
- Always properly close the rear hatch to protect the optics.
This procedure is for everyone, from the weekend DIYer to the cautious driver: simplicity, rigor, and final verification for a 2008 that lights up the road without any mishaps.
Some tips for replacing quickly and safely
A headlight replaced in a hurry is rarely the best idea. Ensure a clear space, good lighting, and a perfectly still car. Let the units cool down: a hot bulb doesn’t wait for a clumsy gesture to remind you.
Thin gloves are essential: they protect both your skin and the delicate surface of the bulb. A portable LED beam or a headlamp will reveal the small inaccessible details of the front compartment. These precautions make the operation much more comfortable and reduce the risk of error or injury.
Changing a bulb also means ensuring safety in all circumstances. Immediately check for the absence of warning messages on the dashboard; if everything lights up correctly, you’re good to go. If not, return to the bulb to check the reference or proper engagement.
For a flawless operation, check off these recommendations:
- Ensure the rear hatch remains securely locked.
- Test the new bulb right after installation.
- Check the alignment to avoid dazzling others or driving with insufficient lighting.
This is how to turn a chore into a manageable little challenge: prepared tools, measured actions, and regained safety. At the end of the hood, the road opens up, clear and visible once again.